Skip to main content
Operazione Colomba • Photogallery
Palestina-Israele
2013
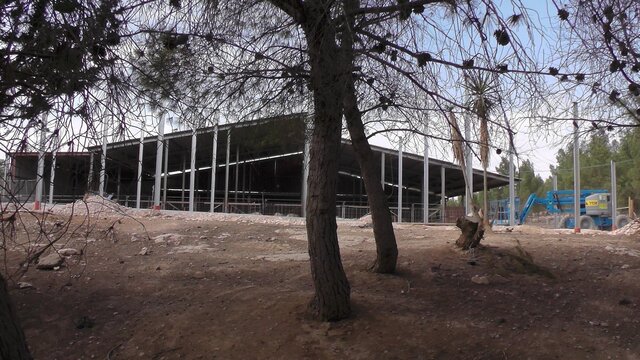
2013-11-09 South Hebron Hills Outpost of Havat Ma'on Continues to Expand
Galleria
* Attiva/disattiva tutto *
Descrizione
Nome file/cartella
Tag
Titolo
Photo by Ta'ayush (www.taayush.org)